Should You Repair Outdoor Concrete Cracks Before Winter?
As autumn leaves begin to fall, your attention might turn to winter preparations. While you're cleaning gutters and checking your furnace, don't overlook your driveway, patio, or walkways. Those small cracks in your outdoor concrete might seem like a minor cosmetic issue now, but they can turn into major problems when winter arrives. Addressing them before the first freeze is one of the smartest moves a homeowner can make.
This guide will explain why repairing concrete cracks before winter is crucial. We'll cover the damage that can occur if they are ignored and provide a simple, step-by-step process for fixing them yourself. With the right approach, you can protect your concrete surfaces and keep them looking great for years to come.
Why Winter is Concrete's Worst Enemy
Water and cold temperatures create a powerful duo that can destroy concrete from the inside out. This process, known as the freeze-thaw cycle, is the primary reason you should seal any existing cracks before winter.
The Freeze-Thaw Cycle Explained
Here's how it works:
1. Water Intrusion: Rain, melting snow, and moisture seep into the small cracks and fissures in your concrete.
2. Freezing and Expansion: When the temperature drops below 32°F (0°C), the trapped water freezes. As water turns to ice, it expands by about 9%. This expansion exerts immense pressure on the surrounding concrete.
3. Thawing and Widening: When temperatures rise, the ice melts. The crack, now slightly wider from the pressure, is ready to collect even more water during the next rainfall or thaw.
4. Repeat: This cycle repeats multiple times throughout the winter. Each time, the crack gets progressively wider and deeper, weakening the entire concrete slab.
The Consequences of Neglect
Ignoring small cracks can lead to significant and costly damage. The freeze-thaw cycle can cause:
● Spalling: The surface of the concrete begins to flake or peel away.
● Pitting and Chipping: Small holes and chunks break off, creating a rough and uneven surface.
● Large Cracks and Breaks: Minor cracks can spiderweb and expand, eventually causing large sections of the concrete to break apart.
● Foundation Issues: If the cracked concrete is near your home's foundation, water can seep into the soil underneath, leading to erosion and potential foundation damage.
Repairing a few small cracks in the fall is a simple, inexpensive weekend project. Re-pouring an entire driveway or patio, however, can cost thousands of dollars.
Your Guide to Repairing Concrete Cracks
Fixing concrete cracks is a manageable DIY project. With the right materials and a little patience, you can protect your concrete and prevent future damage.
Step 1: Gather Your Materials and Tools
The quality of your repair depends heavily on the quality of the products you use. You'll need a flexible sealant that can withstand temperature changes and movement. For all your project needs, EZ Cart Concrete has a complete selection of professional-grade materials and tools to ensure a durable, long- lasting repair.
Here’s what you’ll need:
● Stiff wire brush
● Broom or leaf blower
● Shop vacuum (optional, but helpful)
● Hammer and chisel (for wider cracks)
● Concrete crack filler or sealant
● Caulking gun
● Putty knife or trowel
● Safety glasses and gloves
Step 2: Clean and Prepare the Crack
A clean surface is essential for proper adhesion. Start by using a wire brush to scrub out any dirt, debris, or loose concrete from inside the crack. For hairline cracks, you may need to use a chisel to slightly widen the opening to ensure the filler can penetrate properly.
Once you’ve loosened the debris, use a broom or a leaf blower to clear the area. For the best results, use a shop vacuum to remove any remaining fine dust and particles from deep within the crack. The surface must be completely clean and dry for the sealant to bond effectively.
Step 3: Apply the Concrete Sealant
Load the tube of concrete crack filler into your caulking gun. Apply a steady bead of sealant deep into the crack, slightly overfilling it to account for any settling. Work in small sections to maintain control and ensure the crack is filled evenly. The goal is to create a watertight seal that prevents any moisture from getting in. Be thorough and make sure there are no gaps in your application.
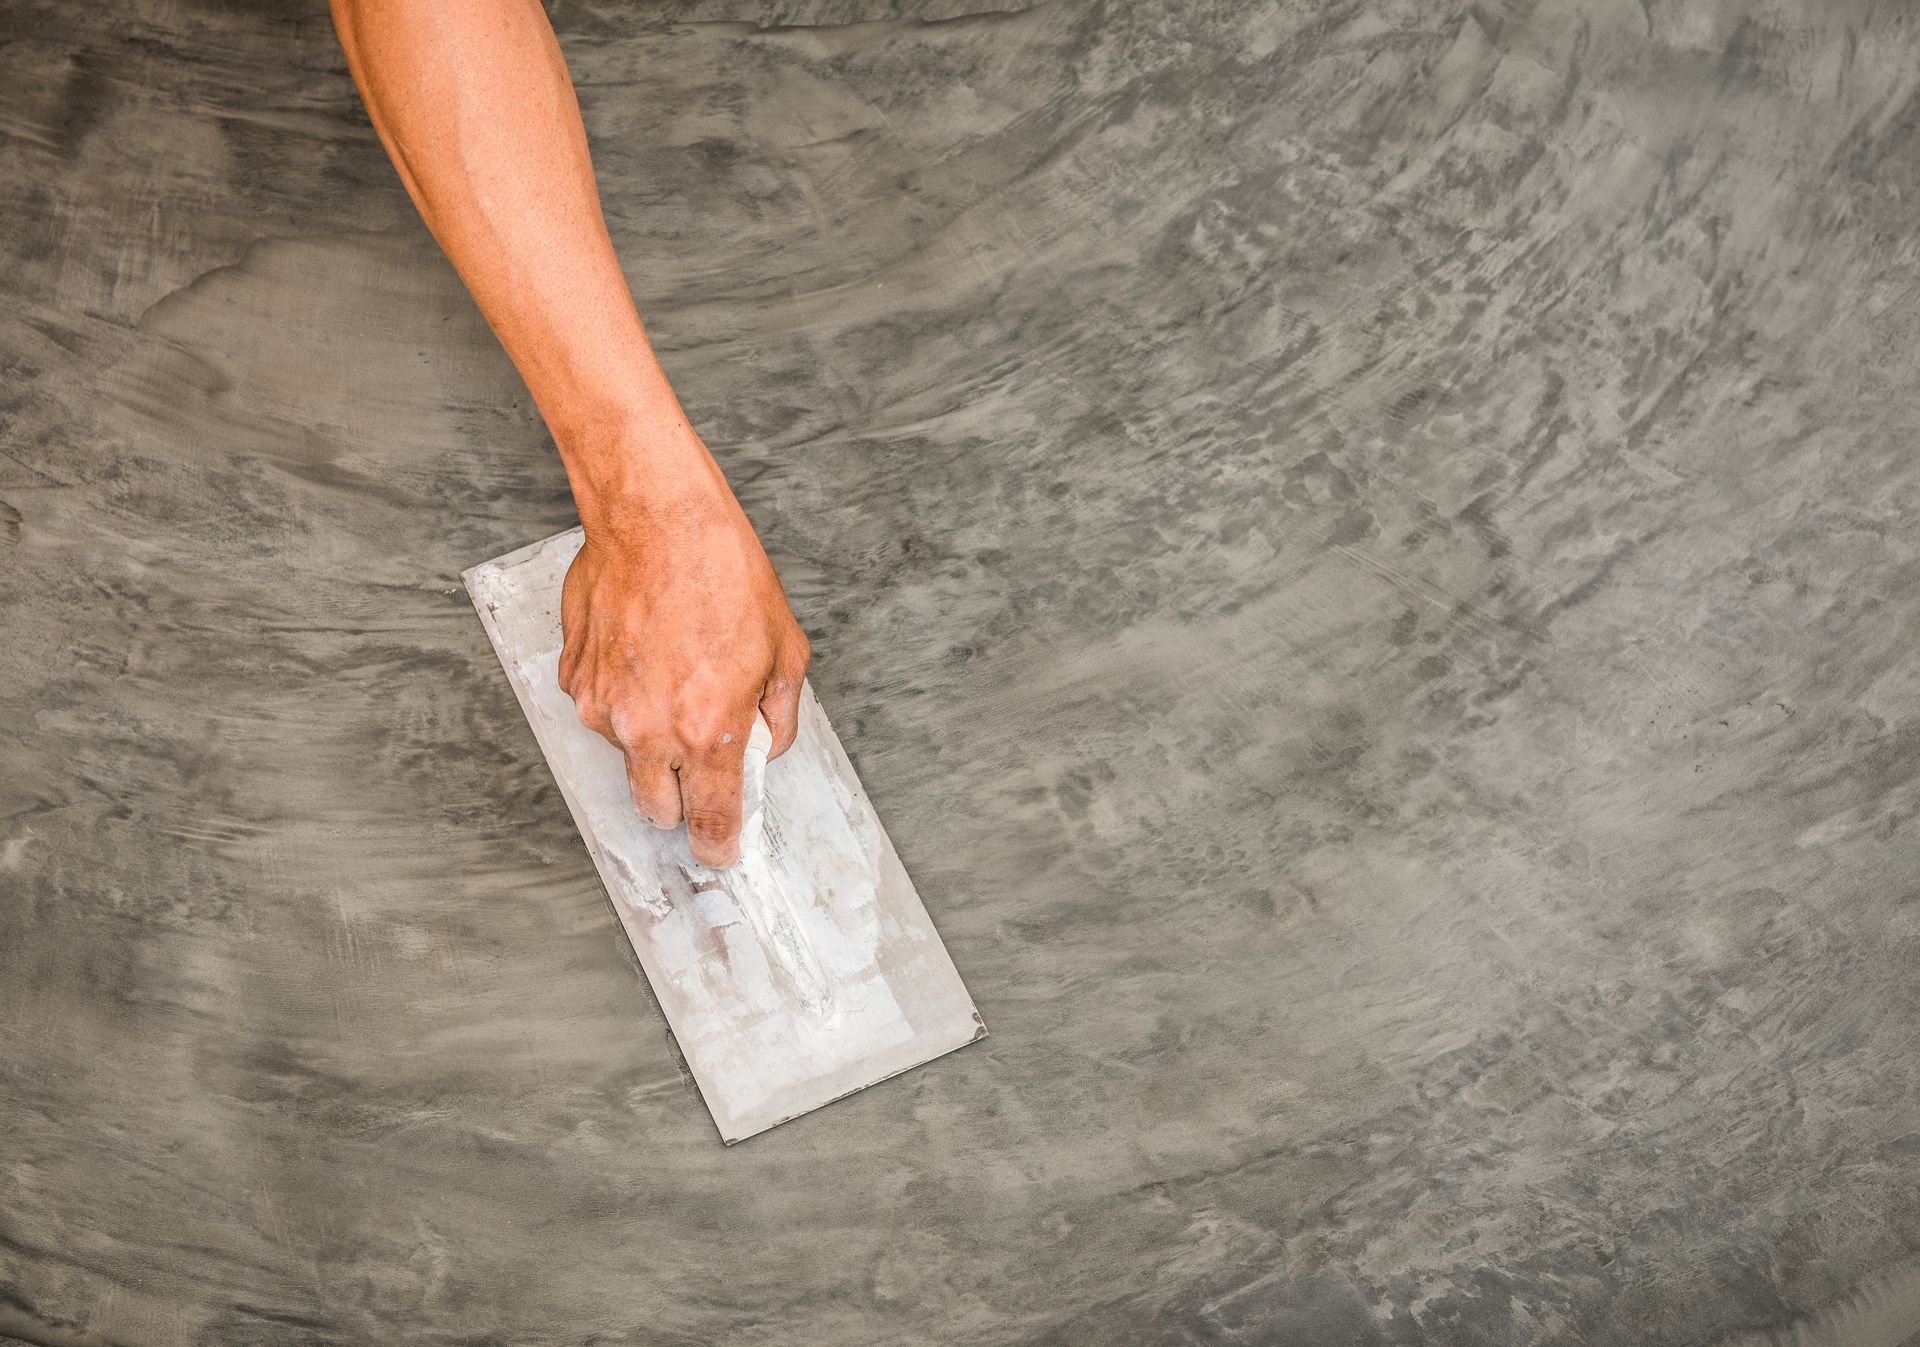
Step 4: Smooth and Finish the Surface
Before the sealant begins to set, use a putty knife or small trowel to smooth the surface. Press down firmly and drag the tool along the length of the repair to remove any excess material and create a level finish. This step helps the repair blend in with the surrounding concrete and ensures a professional look. Check the product instructions for specific drying and curing times. Most sealants are rain-ready within a few hours but may take a full day or more to cure completely. It's best to perform this work on a clear, dry day when no rain is forecast.
Protect Your Investment with EZ Cart Concrete
Taking a few hours on a fall weekend to repair your outdoor concrete is a small investment that pays huge dividends. You’ll not only prevent expensive damage but also extend the life and improve the appearance of your driveways, patios, and walkways.
Don't let small cracks become major winter headaches. Get the job done right with high-quality materials and tools.
Ready to get started? Visit EZ Cart Concrete today. We have everything you need, from expert-grade sealants to the right tools for the job. Our team is ready to help you protect your concrete and prepare your home for winter.